Showing posts with label # Luthier. Show all posts

Thursday, April 20, 2023

A new acoustic bass guitar. 12 string to acoustic bass guitar conversion.

 I was recently gifted an old, 1970's, Tokai, 12 string guitar that was beyond economic repair.

I had wondered for years whether or not a large bodied acoustic 12 string would lend itself to an acoustic bass conversion. So I set about finding out.

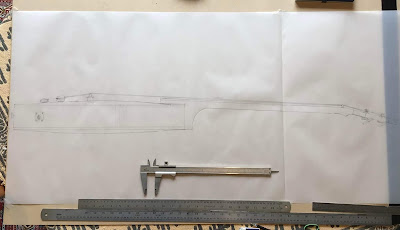
I made a plan drawing first to establish important relationships,  scale length, overall neck length, how many frets to the body, bridge and saddle position, tuner peg head shape and layout, etc.

I settled on a 34" scale length.

Once the design was complete I began the process of pulling the old 12 string apart.

Most of these Japanese guitars from this period are made from laminates.

The soundboard looks convincingly like solid spruce. The body, back and sides look like solid mahogany. It is only when you begin to disassemble them that they reveal their true makeup. All body components, top back and sides are plywood comprising spruce, poplar, spruce and mahogany, poplar, mahogany panels.

As with other recent blog entries I try but fail to get the pics to load in the correct sequence. Please scroll to the bottom and the read upward to get the full construction story.


This is my 1:1 scale drawing.
I considered a cutaway but abandoned the idea.


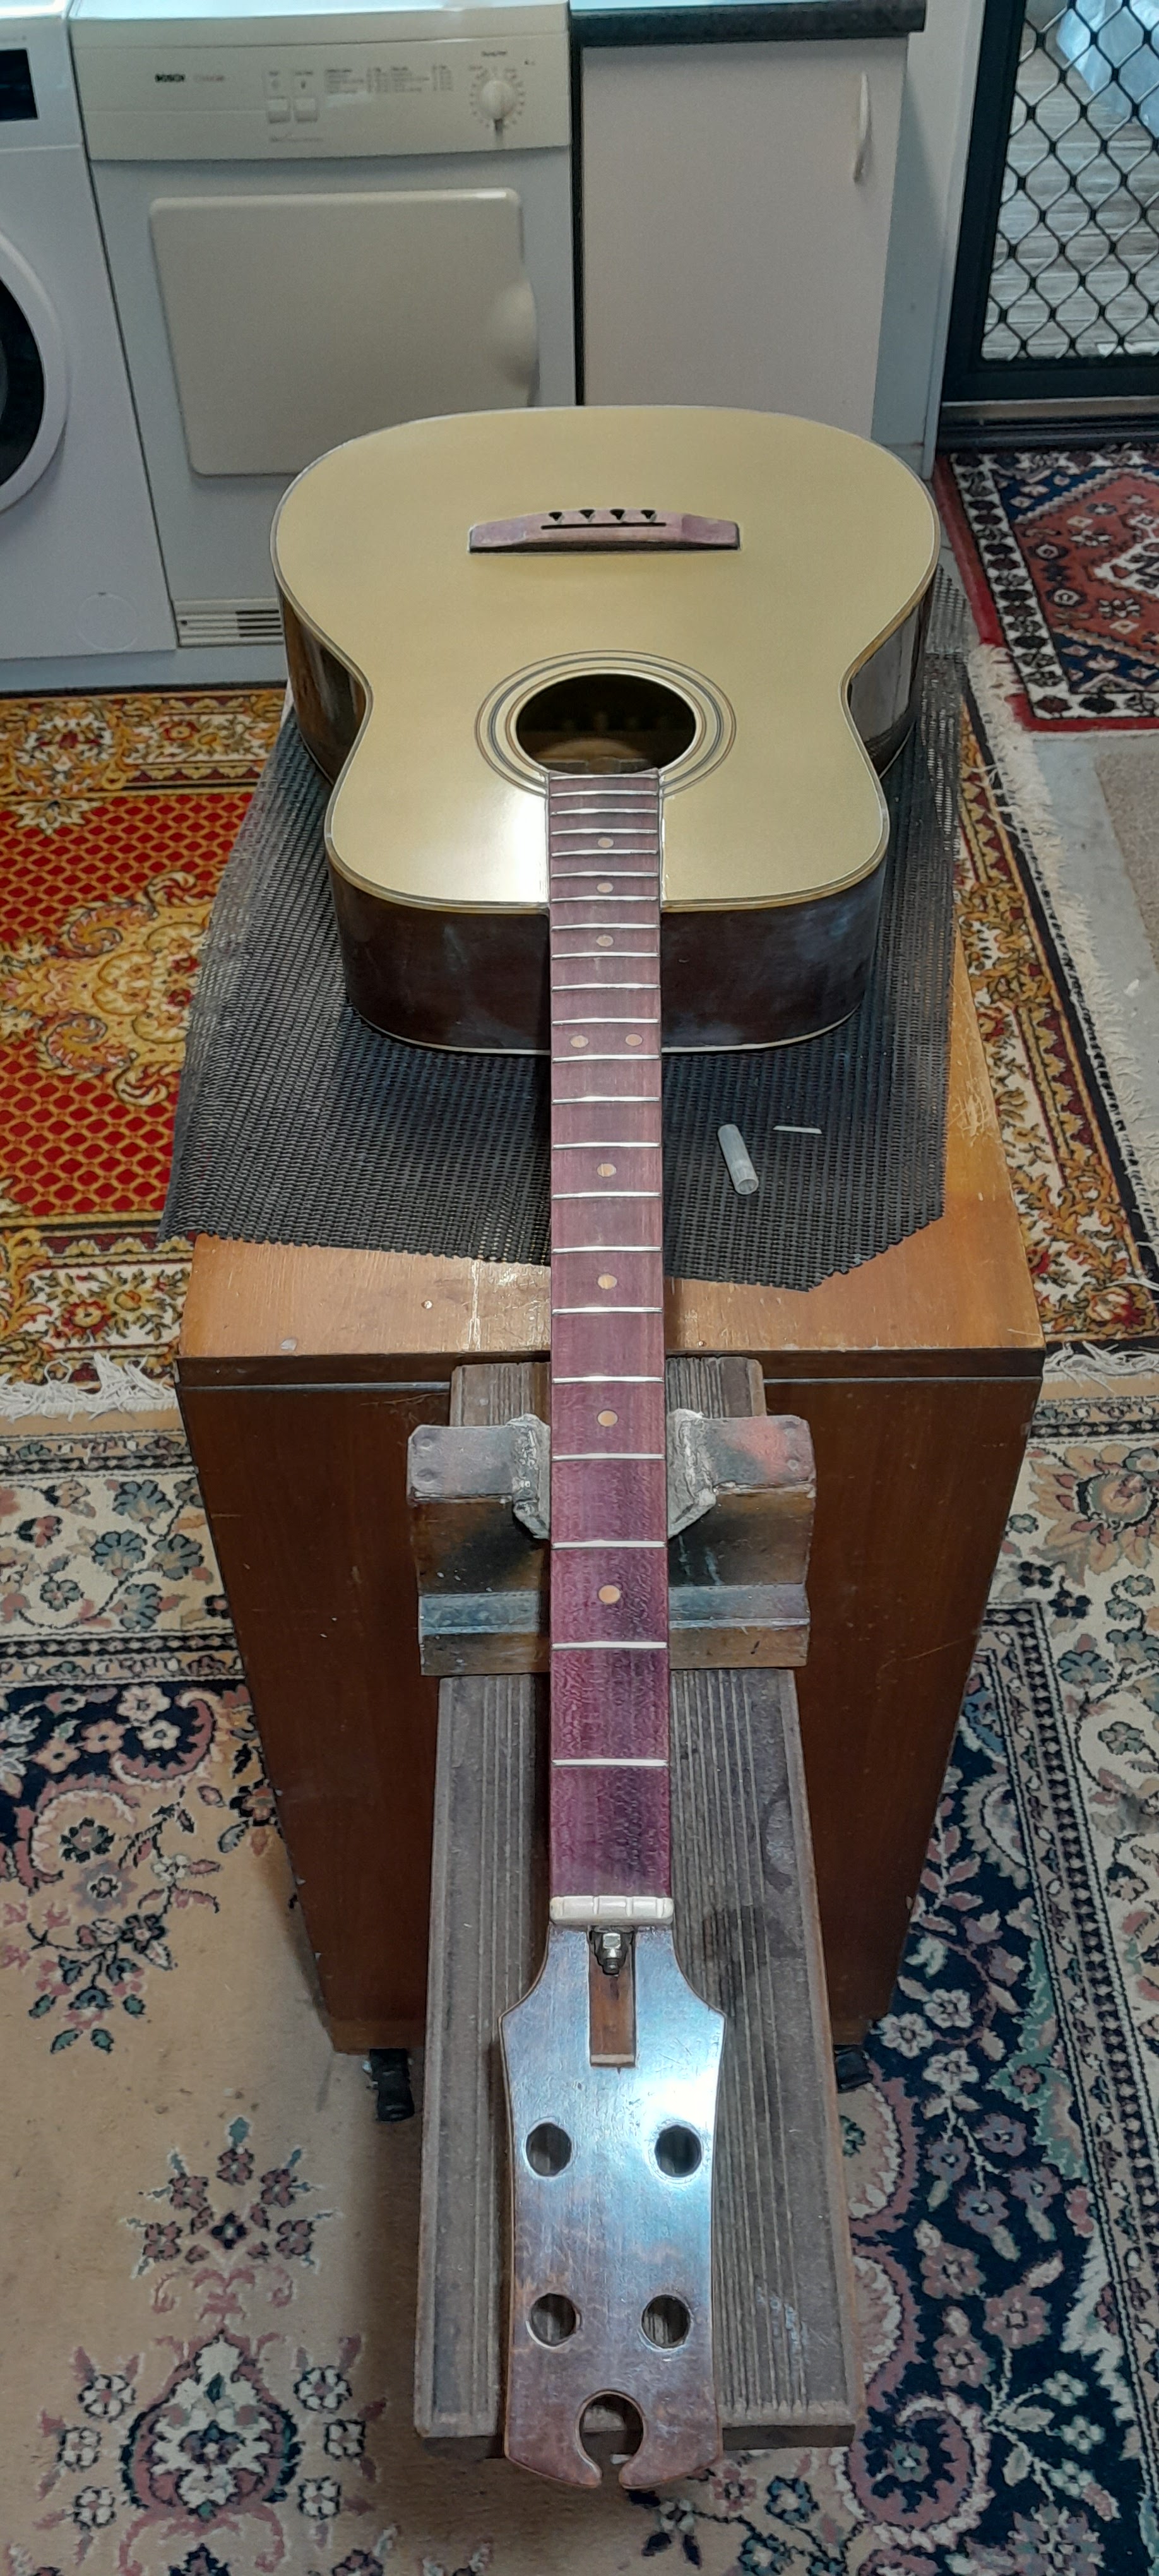
The completed Bass, it's a great bass to play,
its surprisingly rich and loud as well.
I replicated the pick guard design from my previous bass build.
the thumb-rest is and old ebony piano key.

With its fresh coat of Aztec gold metallic lacquer.

The head stock has an overlay of maple then burl
mahogany veneer.

Under a coat of primer.


The back of the neck is coated with Burnt umber
lacquer

I wanted to keep the top its natural spruce.
i just couldn't conceal the scarring from the
old bridge.

A trial fit of strings to achieve the correct saddle position.

Here you can see the subtle pin line of maple
under the burl mahogany laminate.
I welded an extension onto the existing truss rod
The nut is of deer antler.

Masking & filling in preparation for paint.

The back gets glued back on.

This image reveals the web bracing that I glued in
to support the neck block to the bracing.
you can also see my piezo transducer pickup positions.

Here I use a long straight edge beam to
glue on the fret board and to determine 
the correct fret board alignment to the bridge
prior to gluing the back in place.

Out of sequence, this image shows the difference
between this bass and my previous build. 

Bridge is glued into place. Fret board is taped into position.

This image reveals my pick up installation.

Fret board is of scorched purple heart.
I cut the fret positions after using the Stew Mac
fretboard calculator. In this case 22 frets.


I have a philosophy of recycling objects for new uses.
the entire guitar is built on this ideal.
here and old stainless steel milk frother plunger
is modified to create a 1/4" output jack plate.


The neck and peg-head extension is fabricated from 
Cuban Mahogany. I chose to create a volute at the weakest
point of the neck. The existing 12 string neck is of a
variety of mahogany, most likely Meranti as is of the
correct dimension to allow for the new graft to be continuous.


My new bracing pattern and bridge plate.

Another view of the neck scarf joint during shaping.

Pressing in the truss rod batten.

A preliminary alignment check of neck/bridge
geometry as the fret board gets glued into place.

Fret board gets dry fitted in place.

Dry fit of new tuning keys and fret board.

Dry fit of peg head/neck extension.

Peg head/neck extension in Cuban Mahogany
with truss rod channel routed out.

New bracing glued in and voiced.

Trial layout of new bracing pattern.

Out with the old bracing, not at all suited to bass.

The back needed several braces re-securing.

The Tokai 12 string with its back sawn off
and head stock trimmed

Fret board with slots cut, is of purple heart.

The peg-head overlay is of Burl mahogany veneer
with an underlay of maple veneer.
machine head holes freshly drilled.

second view of trial fit of scarf jointed
neck extension.

View of trial fit of scarf jointed 
neck extension.

setting up the correct gluing angle for the
scarf jointed/neck extension. The angle of the
scarf joint was determined by the old
peg-head angle.

An anxious moment dry fitting the neck extension. 
its got to be right!

My raw cut of the new mahogany neck extension.

The original guitar.
A mid 1970s, Tokai 12 string. 
the truss rod was maxed out, the neck needed a reset,
the soundboard had bellied up around the bridge and
the neck had partially collapsed into the sound hole.
Well beyond economical repair.


Sunday, March 13, 2022

A new hollow body, archtop, bass guitar build for my personal use.

Dedicated to my dear friend Neill Duncan.
 

My new bass.
I was inspired by my wife's Maton EG 240 Supreme electric.
I am so impressed by its tonality and vintage look that I decided to 
build an acoustic electric, hollow body, archtop, bass guitar to compliment her archtop acoustic electric, jazz guitar.


I put the word out to my luthier community asking if anyone 
had an archtop guitar body laying around. My friend Lyndsay Marks
had an old 1950's Antoria body that had been kicking around 
his workshop for 15 + years! It had no back, however, he also 
had a spare, worm eaten, Hofner back that matched reasonably well.


This old Antoria 6 string was without a back or a neck.
The neck pocket was 10mm out of centre and the neck 
block wood was of dubious quality. Poor quality, built in a hurry 
by a dissatisfied East German.


There was no binding or purfling either.


Next I asked around if anyone had an old short scale bass neck.
Brett at Music Mayhem had an entire short scale bass with 
its pickups removed. I bought it and removed the neck. This was
the only item that I needed for my project.


The machine heads came in handy too!


I was not satisfied with the peg head design so I cut it off.


My next step was to make a full scale drawing.
This enabled me to make critical decisions about
the relative neck position, saddle and scale length.


Pickup selection and position was also important. 
I ended up settling on a Seymour Duncan, Hot for P bass,
single coil, Telecaster bass pick up.


This is the pickup I chose. This is a relatively high gain pick-up.
It produces more defined high and low frequencies than the 1950's original


This side view gave me an opportunity to decide on the neck And string break angle angle over the saddle.


With the back off I was able to greatly reinforce the old Antoria, 
laminated Maple top and sides. Some of the old body was delaminating.
I stabilised all the delaminated areas with superglue.
I also made and fitted a kerfing rim to allow me to glue the back onto the body.
The old tone bar, braces, were re-glued. I cut them short to accommodate the pick up cavity.
The new mahogany neck block replaced the old fir one. 
The bracing around the neck block was reinforced and I made 2 hardwood 
tone bar extensions to overlap the truncated tone bars to reinforce the sound board
in the area of the pick up cavity. I fabricated a copper pick up surround box 
and fitted it snugly between the two hardwood tone bars.


Here the old laminated Maple Hofner back is glued on.


A view of the pick up cavity and the copper shield box,
mounted in the pick up cavity. The holes for the volume and tone 
control have also been drilled


This is my new peg head design. The original maple one was 
poorly conceived and I had my own ideas as to what would suit.
I cut and glued new wings out of sapele mahogany.
My keyhole in the top is derived from early Gibson and Maton
designs.


A detailed view of the new neck joint. The original neck was
a bolt on so I had to fabricate a neck block and dovetail to lock 
into the the neck block in the body, a very complex joint.


A dry fit of the neck joint.


Neck glued in place.


This is my cut out of the stainless steel tail piece.
I scavenge items that suit my purpose.


The completed tail piece. The brass components are 
ex rubbing strip, half round brass off the bottom of a boat.


The tobacco burst is applied.


Completed tobacco burst.


First coat of clear lacquer.


My new Peg head with burl mahogany veneer overlay
and my logo stencilled in gold.


First fit-out.
The silver and paua thistle broach made its way onto my tailpiece as a result of the fight for life that my musical brother, multi instrumentalist, Neill Duncan was fighting during the construction of this bass guitar. Sadly he lost that battle around Christmas time. Neill gifted me the broach when he left New Zealand for Australia 20 years ago.


I made the nut & saddle from and old ebony piano key.


New bass case. I had to locate a suitable case but could not find one.
I took to a jumbo archtop case and cut the neck to body section.
i made an extension and glued it into the area to extend the case to fit the 
new guitar.


The final result. I love it!
The saddle is of ebony. I made the adjuster thumb wheels out of 5 cent pieces
which I drilled and tapped to fit 2 x 3mm metric thread studs set in the bridge.
The Pick-guard / pick-up ring is fabricated from a piece of ACM board,
an aluminium/plastic/aluminium sandwich board used by sign writers, 
the edge produces a nice clean silver line when bevelled.
The volume and tone knobs are new old stock, vintage, bakelite and brass
radio knobs.
I've fitted DeAddario Black nylon, tape-wound strings


I have since fitted a new saddle. It is of a fixed height,
made from red Cedar and ebony. I hollowed out the saddle
to reduce its mass as much as possible.
The result is brilliant, better transfer of volume and tone!