My latest mission?
To repair this.
Baby Taylor after altercation with Airport Baggage Handlers. Gig bag protection is just not enough folks!
 |
| Sound board separation |
 |
| Bridge separation |
 |
| Neck joint separation and neck fracture |
The owner of this guitar had attempted a repair to this neck joint but failed to make a proper connection. I wrapped the joint in a damp towel over night which softened the PVA wood glue.
Luckily for for everyone it separated cleanly.
 |
| Neck Joint separation |
 |
| Neck joint separation. |
 |
| Neck and head stock separation. |
 |
| Head stock finger joint |
 |
| Neck finger joint |
 |
| Bridge removed |
The bridge was partially lifted on account of the distortion of the sound board so I removed it using a pallet knife and a hot clothing iron. I discovered that Taylor attached this bridge with double sided tape! The problem with this adhesive is that it is terribly difficult to remove. The tape residue is rubbery so all traces have to be scraped off before the bridge can be re-glued with wood adhesive.
 |
| Sound board re glued |
The threaded rod is used to push the rib of the lower bout back outward under the edge of the sound board. the damage to the guitar plus the lack of kerfing meant the the rib had distorted inwardly. I made an adjustable rib thruster by running a nut and washer along the length of threaded rod and adjusted it until the rib and to aligned perfectly.
 |
| detail of neck finger joint fracture repair. |
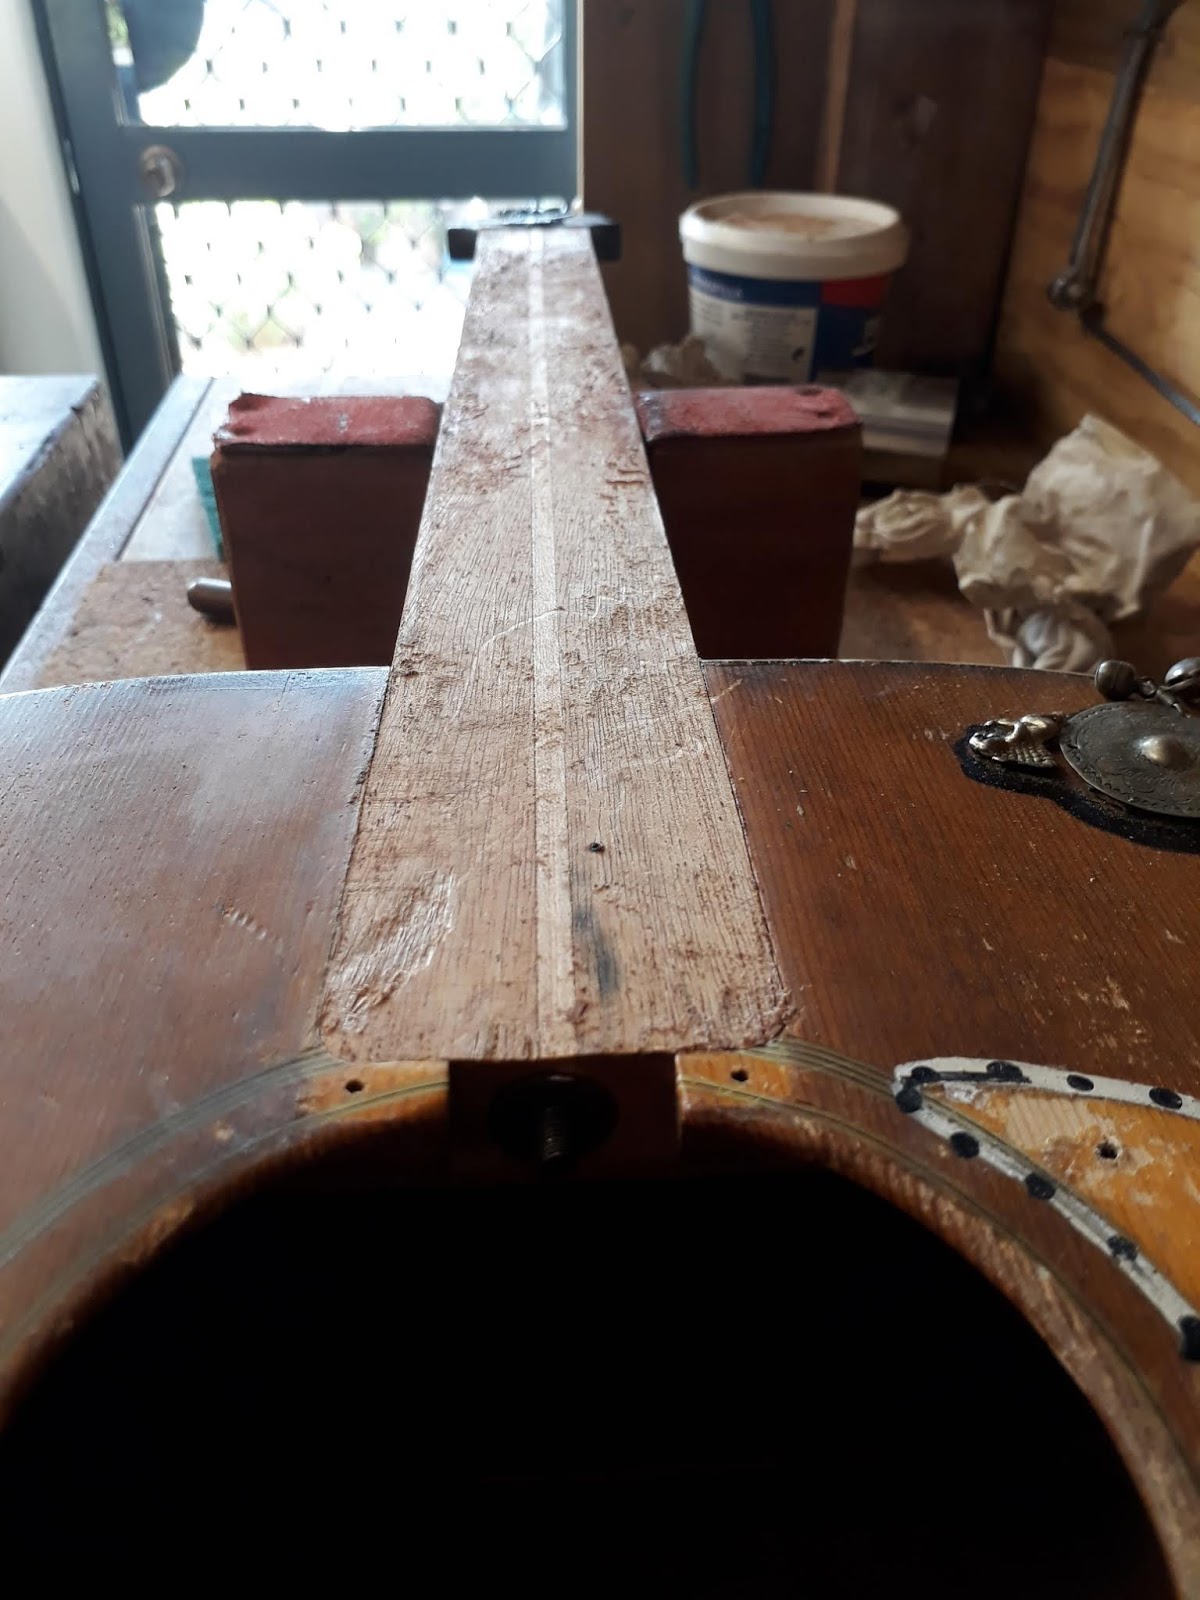
The Neck fracture was a problem. The crack runs at an angle to the grain, lifting the finger board between the nut and the first fret. The crack also distorted the fit in the first finger joint grove.
 |
| Detail of neck finger joint repair |
I drilled a 3 mm hole into the valley of the first finger joint, deep into the crack. I then fitted a PK screw into the hole to force the joint apart. I was then able to clear the splinters. I then removed the screw and forced wood glue into the hole then blew the wet glue into the fracture with compressed air
 |
| Clamping Jig for neck joint repair |
I built a jig to support the neck in every dimension to allow clamping force to be applied to the freshly cleaned finger joint. I made a tiny sanding board with which to sand the inner surfaces of the finger joint to remove all traces of glue. I dry fitted and trial clamped the joint, spot on!
 |
| Clamping Jig for neck joint repair |
|
 |
| Clamping Jig for neck joint repair |
|
 |
Detail of neck Joint repair |
 |
| Detail of neck Joint repair |
 |
| Detail of neck Joint repair |
|
| Sound Board lower bout repaired |
 |
Checking lower bout sound board repair interior.
Note lack of kerfing blocks |
 |
| Sound board reconnected and bridge re-glued. |
 |
| Refinishing soundboard |
The Baby Taylor guitar is getting a refinish on the neck and sound board. On the Taylor website the Baby Taylor and a number of other lower end guitars in their range are finished in what they call Varnish. I can confirm that Taylor's so called "Varnish" is in fact shellac. The surface finish is soluble with Methylated spirit. Shellac is hellish to sand as it galls up sand paper very quickly.
 |
| Baby Taylor with fresh shellac finish. |
 |
Baby Taylor with new set up and new strings. The saddle had never properly fitted the pocket in the bridge. Once I began adjusting the fit it dropped right in to the bottom of the slot and resulted in ultra low string height. I shimmed the saddle up with copper which brought the saddle height up by 2 mm!
Now it's all tuned up and settling in nicely. it has a big sound for a small guitar, the lack of bracing and kerfing probably accounts for that. |