I was recently gifted an old, 1970's, Tokai, 12 string guitar that was beyond economic repair.
I had wondered for years whether or not a large bodied acoustic 12 string would lend itself to an acoustic bass conversion. So I set about finding out.
I made a plan drawing first to establish important relationships, scale length, overall neck length, how many frets to the body, bridge and saddle position, tuner peg head shape and layout, etc.
I settled on a 34" scale length.
Once the design was complete I began the process of pulling the old 12 string apart.
Most of these Japanese guitars from this period are made from laminates.
The soundboard looks convincingly like solid spruce. The body, back and sides look like solid mahogany. It is only when you begin to disassemble them that they reveal their true makeup. All body components, top back and sides are plywood comprising spruce, poplar, spruce and mahogany, poplar, mahogany panels.
As with other recent blog entries I try but fail to get the pics to load in the correct sequence. Please scroll to the bottom and the read upward to get the full construction story.
 |
| This is my 1:1 scale drawing. I considered a cutaway but abandoned the idea. |
 |
| The completed Bass, it's a great bass to play, its surprisingly rich and loud as well. I replicated the pick guard design from my previous bass build. the thumb-rest is and old ebony piano key. |
 |
| With its fresh coat of Aztec gold metallic lacquer. |
 |
| The head stock has an overlay of maple then burl mahogany veneer. |
 |
| Under a coat of primer. |

 |
| The back of the neck is coated with Burnt umber lacquer |
 |
| I wanted to keep the top its natural spruce. i just couldn't conceal the scarring from the old bridge. |
 |
| A trial fit of strings to achieve the correct saddle position. |
 |
| Here you can see the subtle pin line of maple under the burl mahogany laminate. I welded an extension onto the existing truss rod The nut is of deer antler. |
 |
| Masking & filling in preparation for paint. |
 |
| The back gets glued back on. |
 |
| This image reveals the web bracing that I glued in to support the neck block to the bracing. you can also see my piezo transducer pickup positions. |
 |
| Here I use a long straight edge beam to glue on the fret board and to determine the correct fret board alignment to the bridge prior to gluing the back in place. |
 |
| Out of sequence, this image shows the difference between this bass and my previous build. |
 |
| Bridge is glued into place. Fret board is taped into position. |
 |
| This image reveals my pick up installation. |
 |
| Fret board is of scorched purple heart. I cut the fret positions after using the Stew Mac fretboard calculator. In this case 22 frets. |
 |
| I have a philosophy of recycling objects for new uses. the entire guitar is built on this ideal. here and old stainless steel milk frother plunger is modified to create a 1/4" output jack plate. |

 |
| The neck and peg-head extension is fabricated from Cuban Mahogany. I chose to create a volute at the weakest point of the neck. The existing 12 string neck is of a variety of mahogany, most likely Meranti as is of the correct dimension to allow for the new graft to be continuous. |
 |
| My new bracing pattern and bridge plate. |
 |
| Another view of the neck scarf joint during shaping. |
 |
| Pressing in the truss rod batten. |
 |
| A preliminary alignment check of neck/bridge geometry as the fret board gets glued into place. |
 |
| Fret board gets dry fitted in place. |
 |
| Dry fit of new tuning keys and fret board. |
 |
| Dry fit of peg head/neck extension. |
 |
| Peg head/neck extension in Cuban Mahogany with truss rod channel routed out. |
 |
| New bracing glued in and voiced. |
 |
| Trial layout of new bracing pattern. |
 |
| Out with the old bracing, not at all suited to bass. |
 |
| The back needed several braces re-securing. |
 |
| The Tokai 12 string with its back sawn off and head stock trimmed |
 |
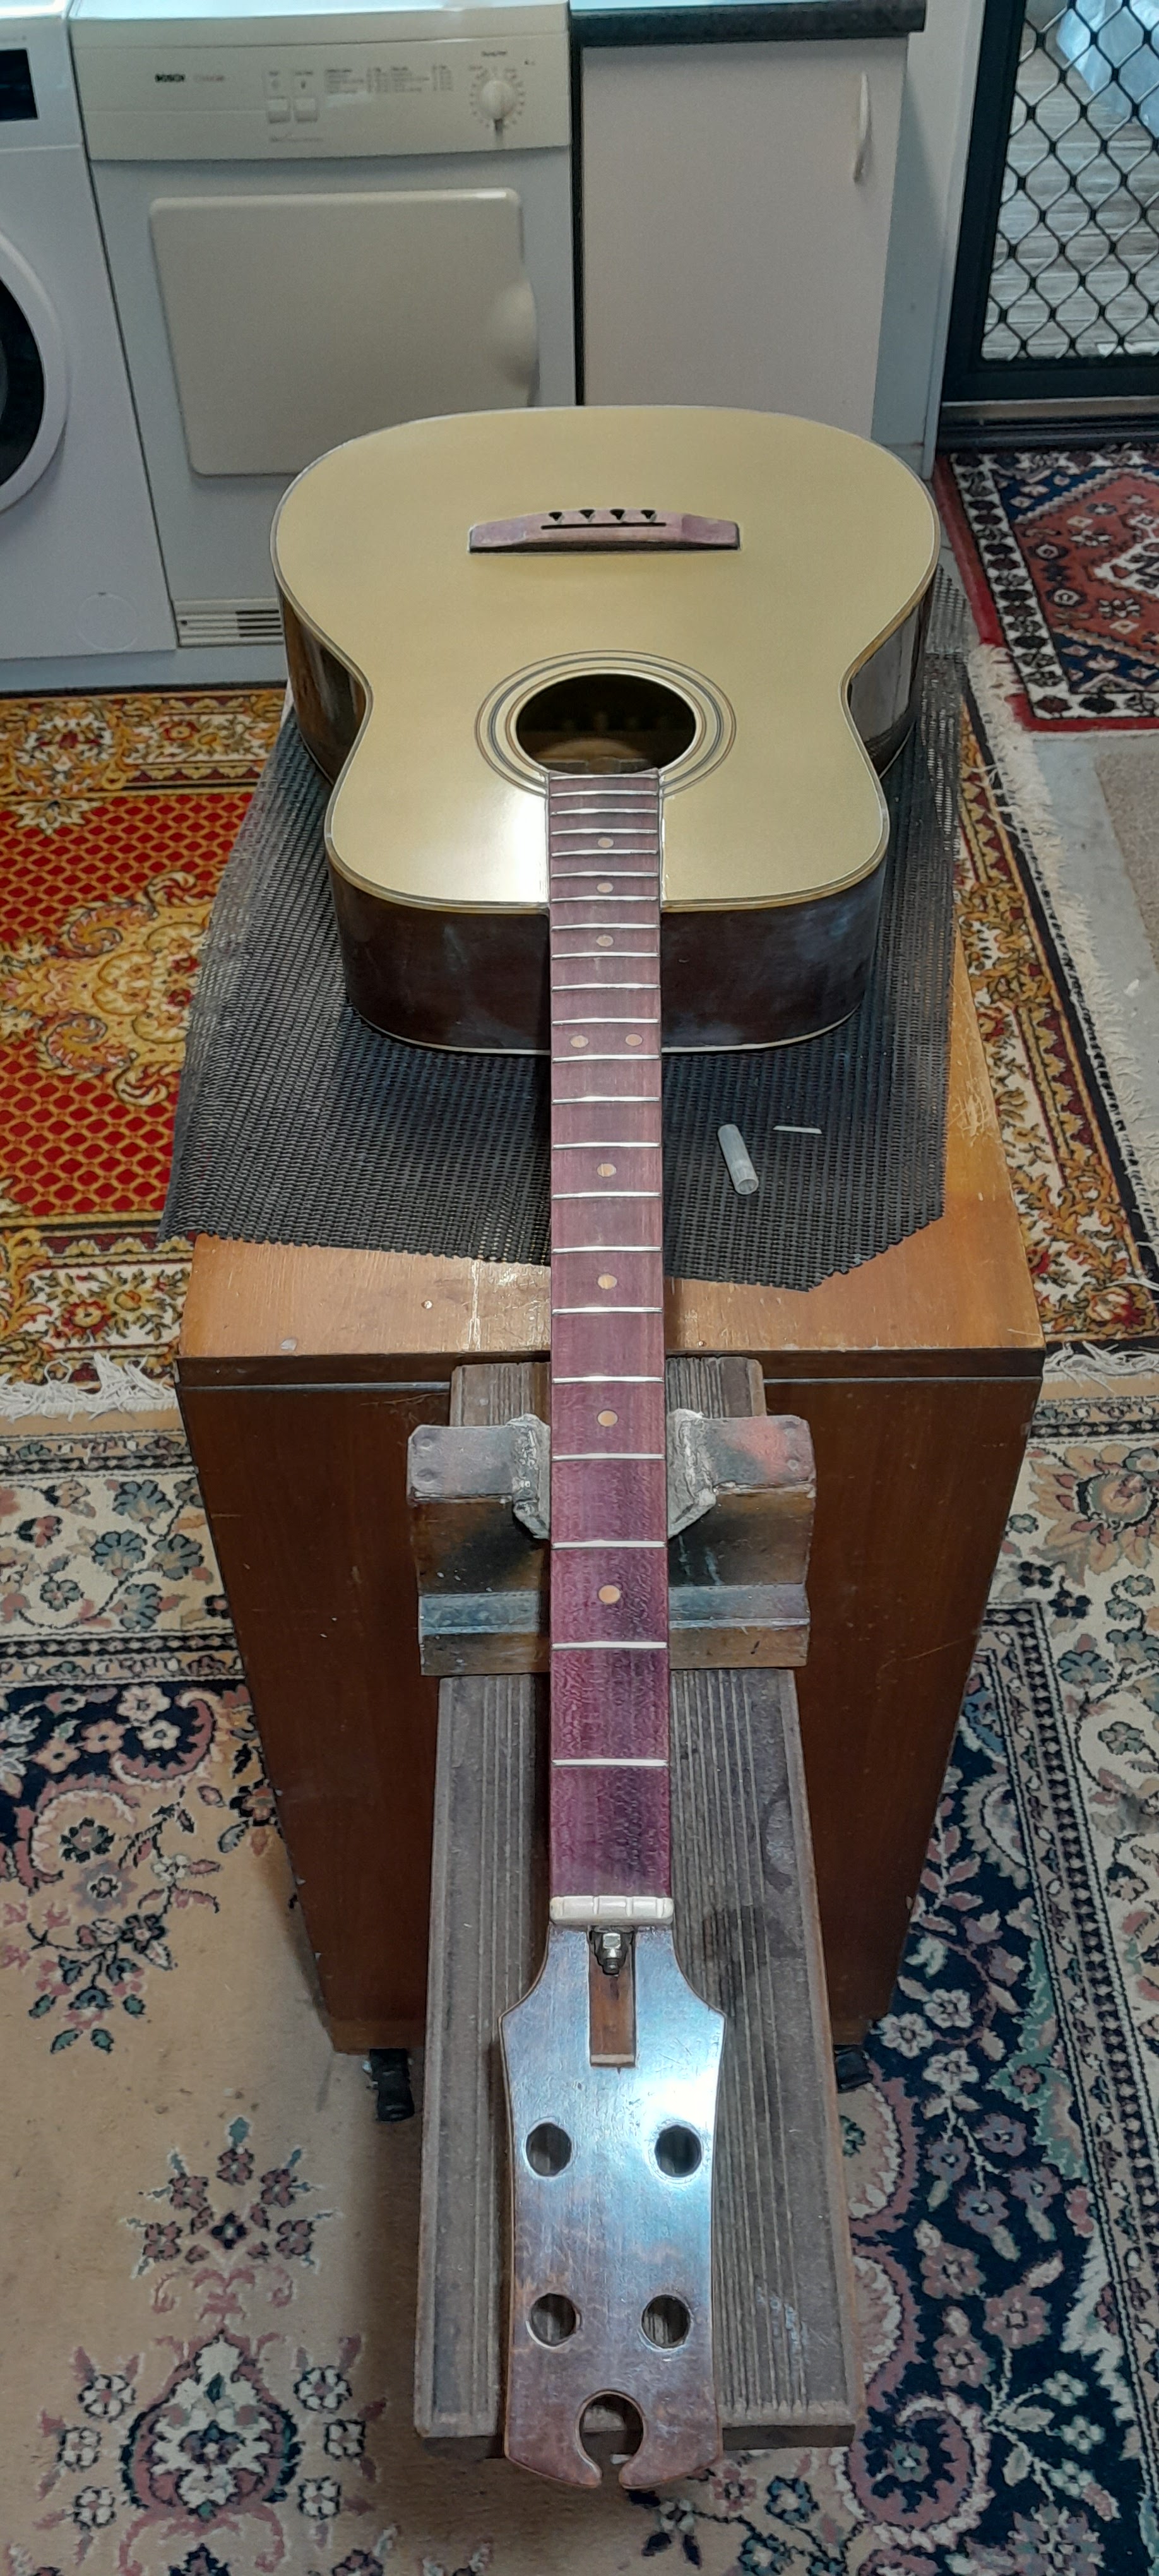
| Fret board with slots cut, is of purple heart. |
 |
| The peg-head overlay is of Burl mahogany veneer with an underlay of maple veneer. machine head holes freshly drilled. |
 |
| second view of trial fit of scarf jointed neck extension. |
 |
| View of trial fit of scarf jointed neck extension. |
 |
| setting up the correct gluing angle for the scarf jointed/neck extension. The angle of the scarf joint was determined by the old peg-head angle. |
 |
| An anxious moment dry fitting the neck extension. its got to be right! |
 |
| My raw cut of the new mahogany neck extension. |
 |
| The original guitar. A mid 1970s, Tokai 12 string. the truss rod was maxed out, the neck needed a reset, the soundboard had bellied up around the bridge and the neck had partially collapsed into the sound hole. Well beyond economical repair. |
1 comment:
Hey Harmen your posts are amazing, keep them coming! Have you heard of music discovery platform named CKORD? We support emerging and non-mainstreamed artist on their musical journey. Do let us know if you can recommend a musician for our emerging artist spotlight - we'd be very happy to profile them.
Post a Comment