Friday, January 17, 2020

"Mirage" Korean built copy of a Gibson 335.

The owner of this Mirage Gibson 335 copy asked me to address multiple issues on this
rather badly treated but otherwise good quality semi hollow body guitar.
This is abetter than average Gibson copy. The materials and build quality are exceptional.

The truss rod cover was missing.

The entire guitar had not had a clean for years, it was covered in a thick layer of dust
and DNA.

Though it is not clear in this image the guitar had fallen off its strap and fallen squarely on its
tuneomatic saddle pushing the curvature inwards ruining the string height on the fret board.
I was able to press the saddle back into its original arc of curvature to match that of the finger board.
All the frets were worn unevenly so I gave them a level, crown and polish.
The truss rod still worked so I re set the neck relief. I scraped, cleaned and oiled the finger board
revealing the beauty of the abalone and ivoroid dragon inlay.

I removed all the Bigsby hardware and all the electronics. There was no signal
from the Bridge pick up and the two tone pots were freely rotating with their
respective wiring disconnected. The selector switch was dodgy as well.

I found a suitable wiring diagram on the net and set about retiring this guitar.
Someone had been inside this guitar and had incorrectly wired it to the extent
that only the font pick up actually worked.

This image shows a corner ding with binding and surface delamitation.
It also reveals a crack from the point of impact to the bottom of the F hole
through the surface of the sound board.

I made a template out of cardboard and fitted the switch, pots and output jack
in their relative locations. The wiring was completely desoldered and resoldered
according to the wiring diagram.


All re assembled with a signal from both pick ups. Volume and tone are working perfectly.
The three way selector switch came apart easily, adjusted, lubed and reassembled.
I repaired the damage to the lower bout using super glue to repair the delaminatation and
glued the crack in the sound board. I touched up the damage with black lacquer

I fabricated a new truss rod cover from a piece of black plastic.
I relocated the forward strap button from its original position on the
neck heel  to a point around the lower side of the neck heel.
The guitar will never again fall from its strap and onto the floor.

The finished guitar awaiting new strings.


The owner is extremely pleased with this guitar now
that is back in playable condition.

Lawsuit era, 1973 Aria 9220 Dreadnought acoustic guitar

My client asked me to replace the Gibson style adjustable saddle on this guitar.
It also needed a fret level, crown and polish.

As you can see from this photo the saddle on this Aria 9220 is the Gibson style chromed,
cast brass adjustable unit with a screw at each end for string height adjustment.
I decided to remove the old adjustable saddle which had tilted in its slot.
I set the guitar up with its bass E and treble E strings on my intonation jig attached to the end pin.
and found the original slot to be in the incorrect position for perfect string intonation.

I took and old ebony piano key and cut it to the perfect size to fill the oversized slot.
Once the new saddle slot was accurately located and marked, I routed a 3mm wide slot into the bridge.
I then fabricated a new saddle out of deer antler and retuned the guitar.
The string height and intonation are now ideal


This is a beautiful guitar.
It rivals a Martin D28 for build quality and materials in my opinion.


Martin OM16DBM String action re set


This Martin OM16 DBM came to me in need of a fret dress and string action adjustment.
on closer inspection I noticed that the bridge was beginning to separate from the sound board.

I removed the bridge with the help of some heat and a spatula.
Typical of almost all mass produced guitars I've seen with this bridge problem, the bridge is glued into place with inadequate preparation.  Commonly the gloss finish is found to extend under the bridge by at least 5 mm. This prevents the glue from adequately adhering the ebony bridge to the gloss finish on the soundboard. There is also a noticeable lip created by the film build up against the bare wood under the bridge creating a void so that the bridge does not make perfect contact with the unfinished surface of the sound board 

My solution is to carefully cut around the bridge with a sharp exacto blade into the sound board to create a perfect margin marking the extreme edge of the bridge in its exact location. I then remove the  bridge after which I take a sharp scraper and remove the excess gloss finish to the  cut margin and scrape all traces of the old adhesive away as well.
This leaves me with a slight cavity into which the bridge sits perfectly. I always prep the underside of a wooden bridge with a scraper, then sandpaper then with acetone to remove all traces of resin from the wood which might otherwise prevent a perfect glue bond. I then scratch the under surface of the bridge with a razor saw to etch the surface prior to applying Tightbond glue. Replacement of the bridge requires 3 deep throat C clamps with wooden cauls above and below. I apply as much pressure as possible when clamping.

While I was at it I levelled, crowned and polished the frets. I also re set the neck relief, the first adjustment of the truss rod since the guitar was new in 1999.

I re strung the guitar and found the string height to be too high by 1 mm per bass E string and treble E string. I shaved 2 mm off the bottom of the tusk saddle which restored the string height back to ideal for my client, (2mm at the 12th fret on the low E and 1.6 mm on the high E string)

There was also a compression ding at the margin of the lower bout so I decided to apply some spot heat with my soldering iron through multiple layers of a wet cotton cloth. This has the effect of swelling the wood where it is compressed. With multiple applications the ding gradually disappeared. I then refinished the damaged lacquer with multiple coats of aircraft dope using an airbrush.
the repair is virtually invisible.

3 deep throat clamps apply pressure to the bridge until the glue has cured (a minimum of 12 hours)

Another view of clamps and cauls.


The finished guitar.


Wednesday, September 25, 2019

Maton ERC90C Dreadnought cutaway acoustic.


I wrote this message to the upset owner of this beautiful Maton ERC90C Dreadnought cutaway acoustic guitar.

"I think the guitar has been over humidified in its case which may have had some residual moisture spilled in it, or a shower of rain in the open case.

The whole guitar has been over humidified resulting in expansion of most of the timber it is made from. I did some more measurements and geometry checks and found that the bridge area is 3+mm (under string tension) higher than it should be.

I've shaved the bridge and lowered the saddle by 1.5 mm so that the string height will be close to normal again.

The neck angle is within tolerance and does not justify a neck re-set. The hairline crack around the neck joint is the result of expansion of all the exposed wood in that area.

I'm going to leave the case open in the sun for a few days to ensure it is properly dry.

I'm going to remove the fingerboard and re-fair the neck to the sound hole then reattach the fingerboard, level and crown the frets. This was done on Andy's Maton with great results and also on an early Maton of another friend, the neck of which could not be removed. 

It deserves the right treatment."

Maton ERC90C Dreadnought cutaway acoustic.
Looks good right? Unplayable neck, the result of over humidification.
There was a distinct V in the finger board where the neck joins the body.

The hairline expansion cracks can be seen here.

...and here

More expansion cracking

... and here.

There was no way the neck joint had been compromised.
These lines are the result of timber expansion and contraction


Here I'm glueing a .5mm walnut veneer to the neck and sound board to
begin the process of re-fairing the neck and body surfaces to take the finger board.


Here the veneer is ready for beam sanding.
The neck ready for fairing


The Faired neck. I relived the veneer at the neck joint in case a luthier
needs to remove / re-set the neck in the future.


A view of the truss rod nut.


Finger board glued back on and it is perfectly level!

Frets levelled and crowned.

Frets polished.

bridge and saddle. These are very generously proportioned on a Maton.
I shaved a couple of mm off the bridge and did the same with the bone saddle.
This keeps the string break angle consistent.

Maton ERC90C Dreadnought cutaway acoustic. Looks and plays like new!

Once this guitar was re strung the string tension pulled the expected amount of belly up. Factoring in all my alterations the ideal string height was achieved for my client.

This guitar aged 10 years during its humidification ordeal. Now it is good for another 10 years at least!


Wednesday, September 11, 2019

Classical guitar repair, Vincente Sanchis, model 29, made in Spain.


Yet another Peg head break that has been previously (and poorly) repaired.

I took a pair of tweezers and carefully removed all loose shards and splinters of mahogany
from the break. There was a deposit of hide glue on all the surfaces
that needed to be chipped off as well.

The neck was given the same treatment. Most of the Hide Glue was deposited on this side of the
previous repair.

This is the weekest point of the classical guitar neck. Sapele Mahogany is not particularly
strong in this application. The way the neck was cut from the balk of timber meant that the
grain ran across the weakest point

Though the label gives no details, some research on the net showed me that this is a
Classical Model 29 from the 1970's.

Work begins on the repair. There were several splits in the surface of the peg head that
needed to be glued before I could repair the main break.

I have a pine wedge that serves as a caul for the sash clamp which puts direct pressure on the
broken joint

Here you can see the sash clamp pulling the break closed.

another view of the sash clamp.

Close up of the peg head with cauls and clamps to prevent the peg head from splitting under the tension of the sash clamp.


A rear view of the new glue line.


Back in one piece.
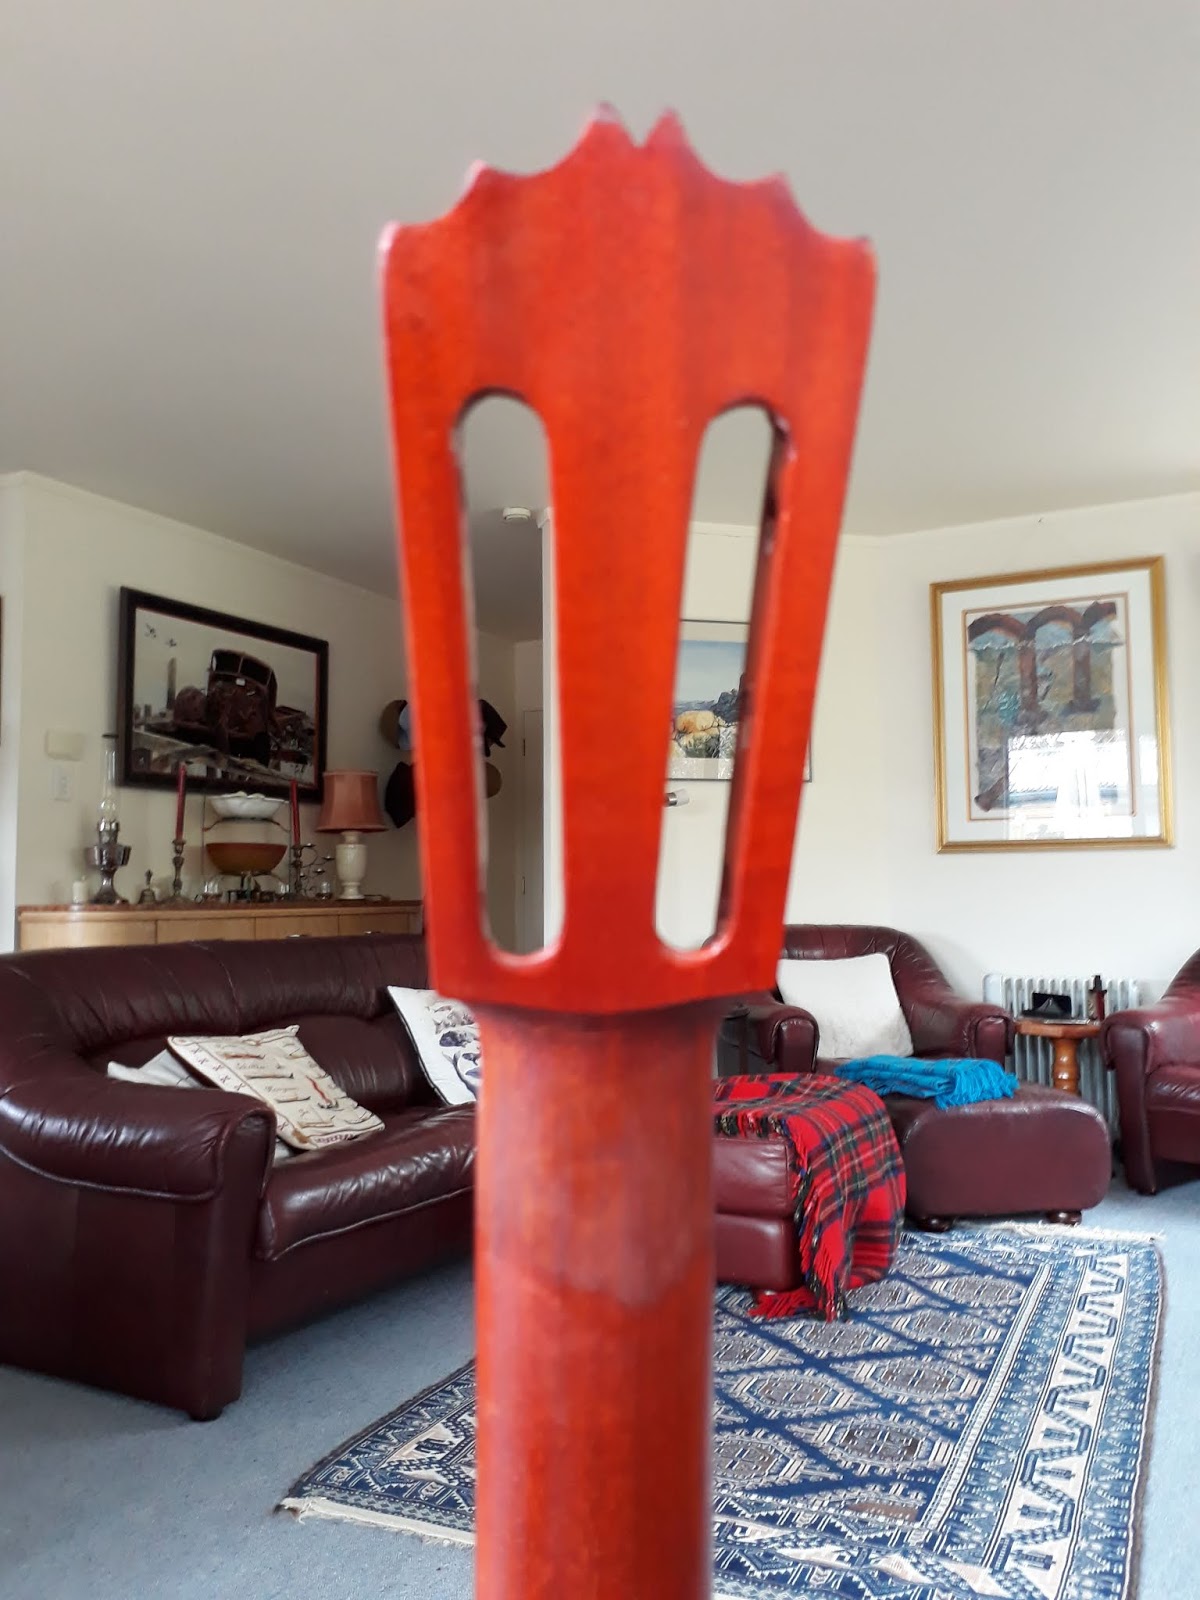
Front view of the peg head and the ugly glue line.
I glued a piece of Burl Sapele Mahogany over the peg head to conceal the ugly glue line.

First coat of stain.

Rear view after first coat of stain.

The break is already hard to see.

3 coats of acrylic clear lacquer and tuning pegs fitted.

A reasonable result.

Guitar looks like new again.