This Maton acoustic guitar was brought to me for repair.
According to the owner it had suffered from freezing in Canada (-45C) to cooking in the back seat of a car (+45C) the kind of temperature extremes only a guitar made from carbon fibre could endure.
The result? Split sound board in lower bout, bridge coming off, split in lower bout rib to back block, the finger board was coming off near the nut and the neck had a severe "S" bend along its length.
There was an excessive belly on the sound board, a result of the split in the lower bout.
This guitar was not able to be correctly set up to make it player friendly.
I had a difficult time after reassembly of this guitar with the Maton AP Piezo pick up system.
I had made no change whatsoever to the pick up or any of its components. Despite this the system hummed dreadfully when plugged in to an amplifier, something it did not do before I worked on it.
It took three attempts before I finally found the problem and solved it. All the components in the piezo, of which there are many, were slightly oxidised. I polished all the mating surfaces and re set all the 6 caps on the through bridge, porcelain transmission rods before the hum was finally stopped. I'm sure that the impedance was cumulatively increased by dirty, oxidised contacts.
 |
The Maton as delivered to me. You can see the through bridge, aluminium transmission caps
quite clearly in the saddle slot. These were oxidised and hollow so contact with the metal under saddle
strip was poor |
 |
| The bridge was lifting off the sound board. |
 |
| Here you can see the fingerboard separated from the neck. |
 |
| This view reveals the S bend in the neck. |
 |
I stripped the old finish off the entire guitar with a cabinet scraper.
Sound board split repair featuring my home made Stew Mac type cleat clamp. |
 |
Finger board removal revealed a mess at the end of the truss rod. The steel anchor block was proud of the surface and when tension was put on the truss rod the steel anchor block rose up out of its slot prising off the finger board.
This guitar had been returned to the Maton factory for a replacement truss rod after the original one broke.
Did they ask the janitor to fit the new one? |
 |
| Here I've begun to level the end of the neck having first ground down the steel truss rod anchor block. |
 |
| The whole area is now flat and fair. Next I filled the cavity with epoxy filler to lock down the steel anchor block. |
 |
| Finger board, maple veneer packing wedge glued into place. |
 |
| The Maton stripped and masked with faired neck ready for lacquer. |
 |
| The guitar soon after an application of Mirotone Lacquer. |
 |
| The guitar soon after an application of Mirotone Lacquer. |
 |
| The guitar soon after an application of Mirotone Lacquer. |
 |
| The guitar soon after an application of Mirotone Lacquer. |
 |
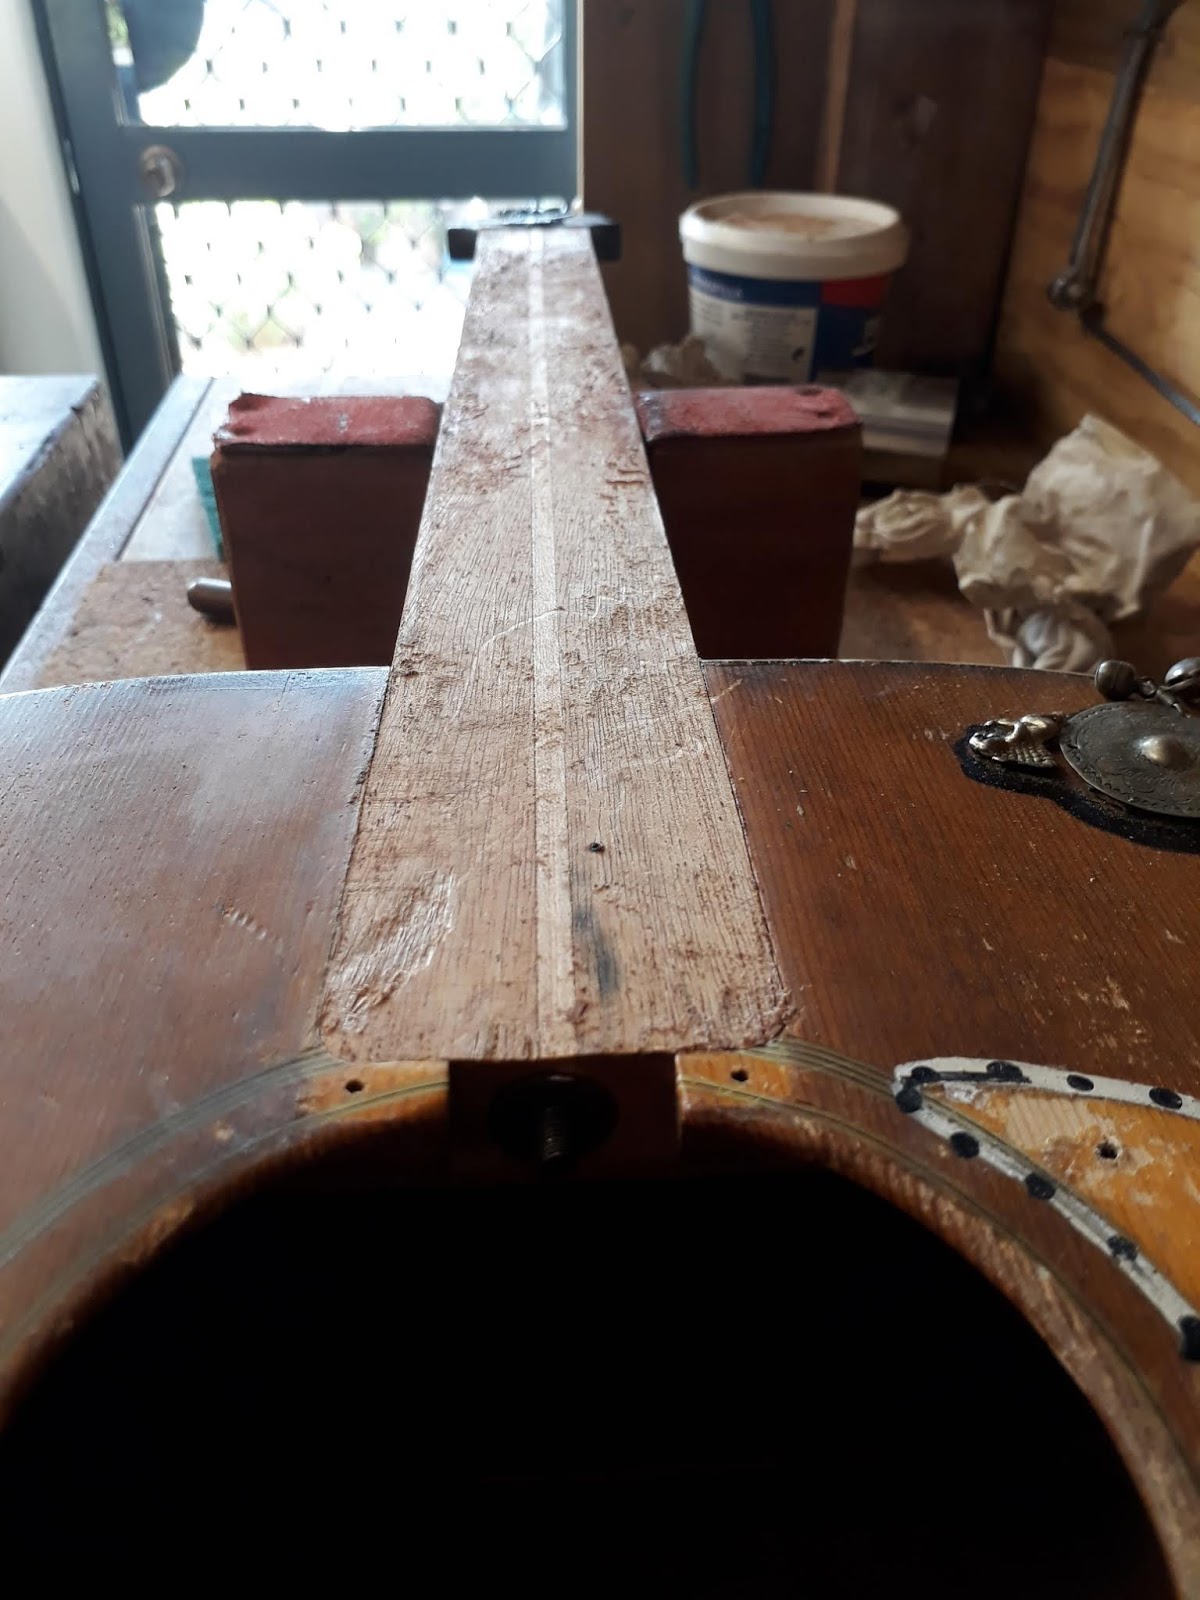
| Finger board being glued back on to the neck. |
 |
Finger board being glued back on to the neck. Note the bicycle inner tube clamp and the radiused
caul clamping block. |
 |
| Re fret underway |
 |
| the new frets in place with stretched bicycle inner tube wrapped tightly around the neck whilst the glue dries. |
 |
The finished guitar before strings were fitted. It is now back with the owner who is very happy with the result.
The tone is exceptional, the result of the removal of a disproportionately heavy application of lacquer and a new ebony saddle. |