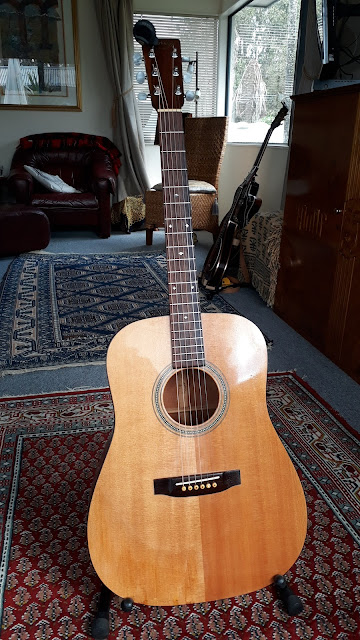
This is what happens when you take a flat top guitar and throw it at a wall.
Scroll to the bottom to get the full story in sequence.
 |
Ready to play. Was it worth the trouble to repair?
Absolutely says the owner. |
 |
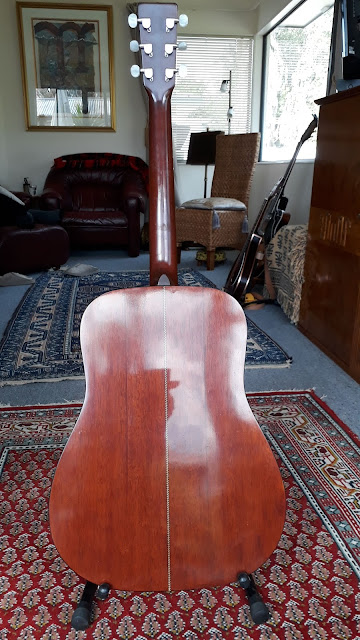
| The back refinished quite well. |
 |
| It's virtually impossible to match the original lacquer. |
 |
| ready for lacquer. |
 |
The owner liked my idea of making a Japanese style
Kintsugi repair by gold leafing a raised epoxy
line over the crack. |
 |
| The spirit level is securely taped to the neck with a guitar pick between its extremity and the bridge. This ensures that the neck is correctly set when the back is glued back on. |
 |
| Glueing the back on. |
 |
cleats being fitted to reinforce the repairs to the back.
I use neodymium magnets as clamps. |
 |
This shows the cleats that I fitted to reinforce the rib crack
and the broken tail block. |
 |
| Preparing the top for refinishing. |
 |
| Glueing the large crack around the rib. |
 |
I had all but one piece which I cut from a spare piece of
mahogany from my wood pile. |
 |
The back also needed reassembling. The finish was flaking
off so I was forced to strip it. |
 |
With the back removed I could access all the areas damaged
by the impact. Loose braces, missing kerfed lining, etc. |
 |
There were a couple of missing pieces which I fabricated
from the original Martin sound hole cutaway which the
owner also supplied |
Fortunately the owner had thought to save all the shards of wood
I had no choice but to cut the back off!
Take a D16 Martin Flat top guitar and throw it at a wall.


